
Graphic Placement Routes by Garment Area
A placement decision starts with the same graphic set, garment, audience, and launch context. The team then compares how each route changes visual balance, garment tone, listing presentation, provider constraints, and the next production checkpoint.
A left-chest concept, a center-chest concept, and a back or sleeve concept may use the same artwork, but they create different review questions. The useful decision is not which area is universally best. It is which route remains coherent across the collection and has a clear path toward template review, sampling, and handoff.
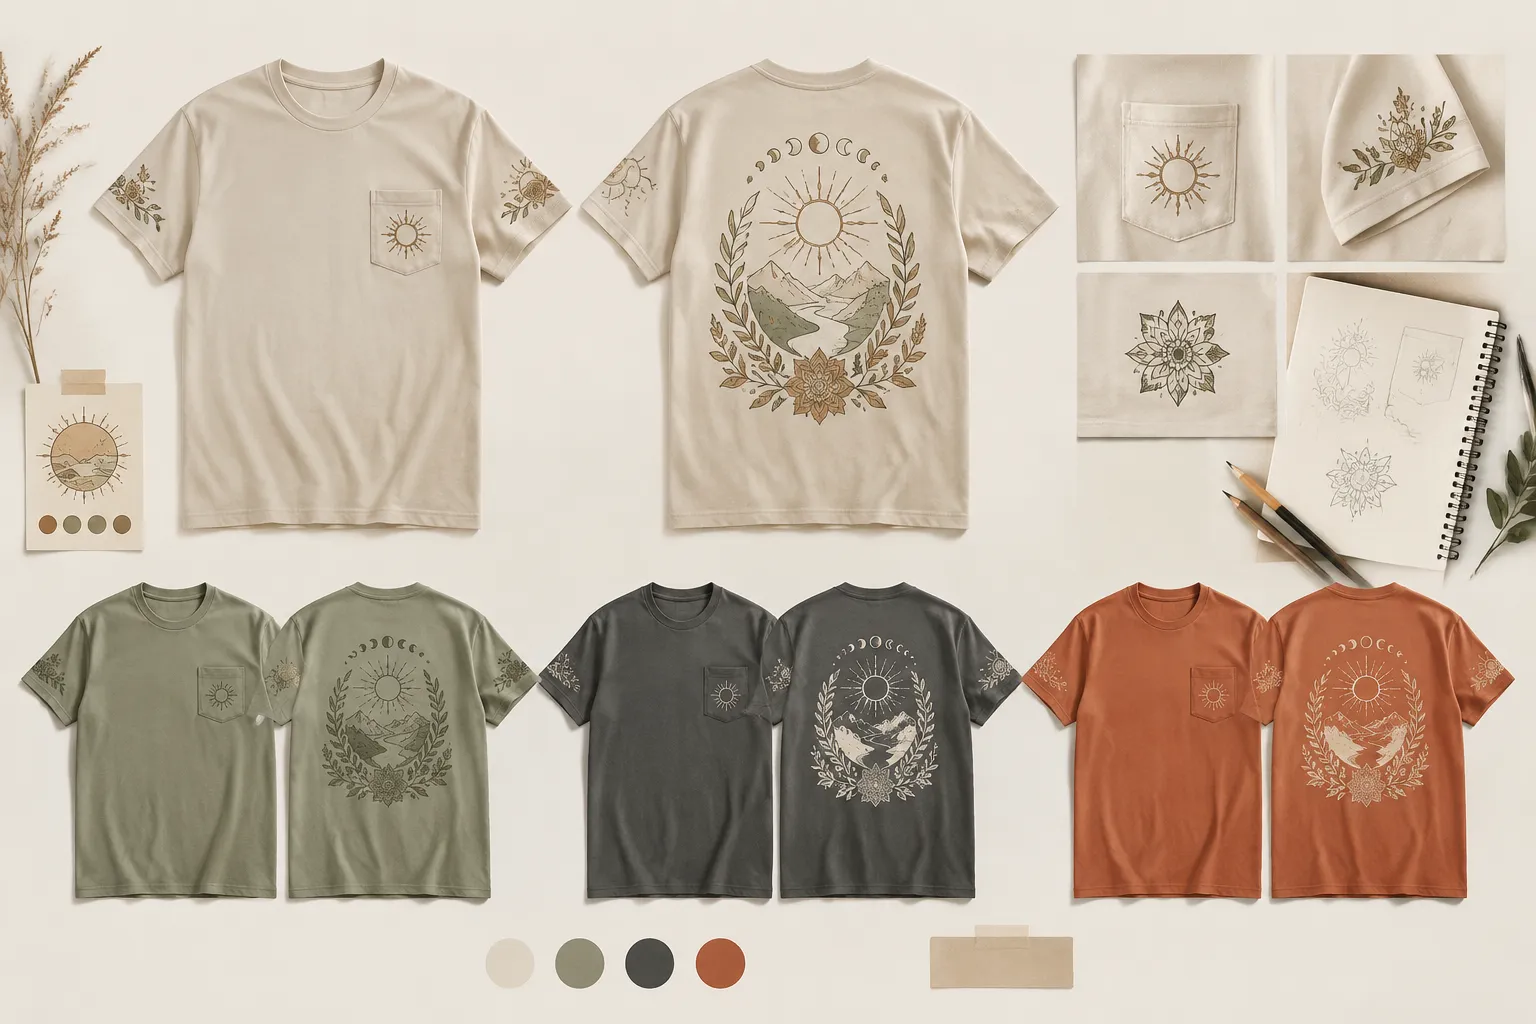
Start With the Placement Decision
Before building several mockups, record the variables that should remain constant:
- Garment style and size range
- Garment tone and colorway
- Graphic set or collection theme
- Intended garment area
- Audience context
- Launch context
- Listing frame and campaign asset requirements
- Selected provider and decoration method
- Open questions requiring provider confirmation or sampling
This keeps the comparison readable. A center-chest graphic on a dark heavyweight shirt should not be judged against a left-chest mark on a light, lightweight shirt without recording the changed inputs.
The starting state is intended. It describes the route the team wants to investigate. It does not confirm the printable area, final scale, print result, rights status, marketplace acceptance, or manufacturing outcome.
Graphic Placement by Garment Area
Garment-area labels give the team a shared vocabulary. Common working labels include left chest, center chest, front, back, sleeve, collar, pocket area, and all-over placement. These labels identify the route under discussion, but they do not establish universal measurements or provider rules.
Judge each area against the same collection criteria:
| Review variable | What to observe | What remains unconfirmed |
|---|---|---|
| Garment area | Position relative to seams, neckline, pocket, hem, and body center | The selected provider's actual printable area |
| Visual balance | Whether scale and position feel stable on the garment | How the result behaves on physical fabric |
| Garment tone | Whether the artwork separates clearly from the shirt color | Final color appearance and decoration behavior |
| Graphic-set coordination | Whether several designs read as one collection | Production consistency across products |
| Audience context | Whether the route fits the intended use and visual language | Audience response or sales performance |
| Launch context | Whether the asset works in listing frames or campaign crops | Marketplace acceptance or conversion |
| Provider checkpoint | Whether the artwork appears to fit the selected template | Final manufacturing feasibility |
| Sample checkpoint | Whether the physical item reflects the intended review | Produced results across every size and colorway |
The preview makes visual differences available for comparison. It cannot close every production or commercial question.
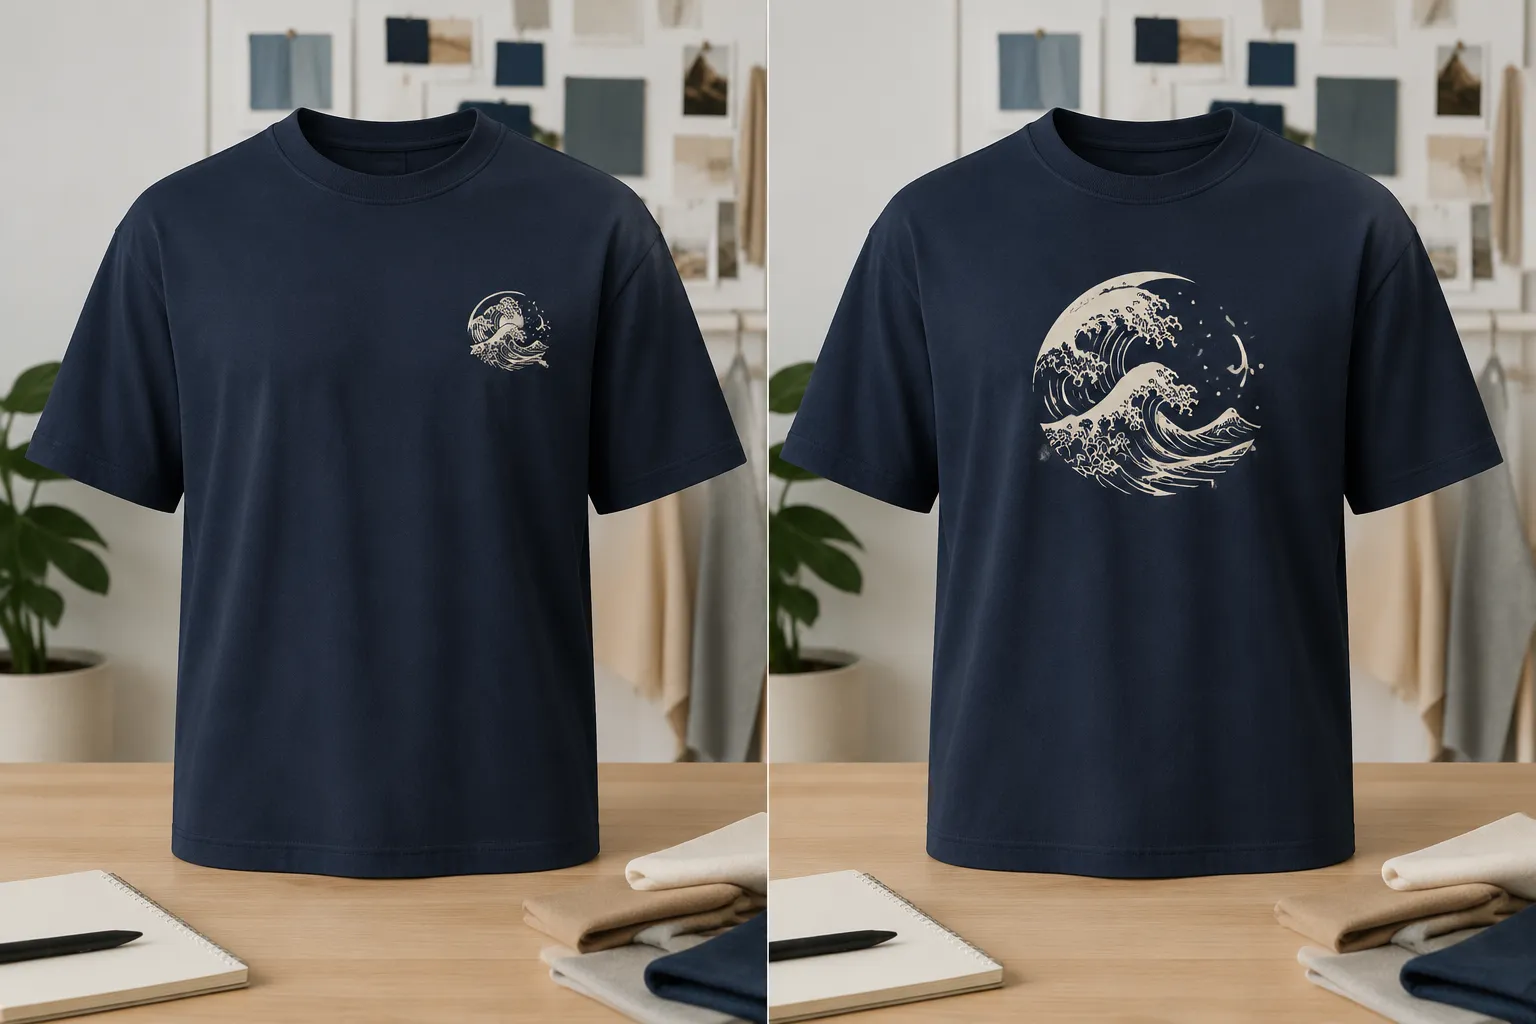
Left-Chest or Center-Chest Placement for a Coordinated Line
Left-chest placement and center-chest placement often appear together in collection reviews because both use the front of the garment while creating different visual emphasis.
Left-Chest Placement
A left-chest route usually gives the graphic a smaller, offset position within the front garment area. In a coordinated line, this may suit a restrained mark, emblem, short wordmark, or compact motif. The design often functions as a supporting signal rather than the main front statement.
Check the route against these variables:
- Whether the smaller area preserves the graphic's essential shape
- Whether the offset position remains intentional across shirt sizes
- Whether the graphic retains contrast against each selected garment tone
- Whether the route coordinates with larger back or center-front artwork
- Whether the collection still reads as related when one design has less visual mass
A left-chest concept may look balanced in a full-garment mockup but lose clarity in a listing thumbnail. Crop it into the same listing frame used for the other routes, then record what remains legible.
The practical verdict often concerns information density. If the artwork depends on small text or fine internal detail, the route may need a simplified graphic or a larger area. That is a design revision decision, not evidence that the area cannot be produced.
Center-Chest Placement
Center-chest placement creates a more prominent front-facing route. It establishes a stronger relationship between the graphic, the garment's vertical center, neckline, side seams, and hem. The same artwork may therefore feel more dominant than it does on the left chest.
Compare:
- Graphic width relative to the front body
- Vertical distance from the neckline
- Relationship to the hem and side seams
- Artwork mass against the surrounding empty garment area
- Contrast across the selected garment tones
- Consistency across models, sizes, and colorways
A centered route can make the main graphic easier to identify in a listing frame. Visual prominence should remain a design observation, not a claim about customer response. The supplied research does not establish a universal preference between center-chest and left-chest placement.
For a coordinated graphic set, use one shared scale logic. Exact sizes may change by design, but the record should explain whether the reason is motif density, text length, artwork proportions, or collection hierarchy.
Choosing Between the Two
Use a side-by-side simulated mockup with the same garment, graphic, colorway, model crop, and listing frame. Separate the observations into four parts:
- Visible observation: The center-chest route occupies more front-body attention.
- Collection consequence: The route may become the primary front statement.
- Open production question: The selected provider template must confirm the printable area and file requirements.
- Next action: Simplify, scale, reposition, or send the route to template review.
A usable decision record might read:
Intended route: center chest.
Reason: the graphic requires a wider uninterrupted front area.
Alternative reviewed: left chest.
Reason not selected: important detail loses clarity at the smaller simulated scale.
Remaining checks: provider template, garment-tone contrast, physical sample.
This preserves the reasoning without turning a team preference into an industry rule.
Other Placement Routes by Garment Area
The front is one route family. Back, sleeve, collar, pocket, and all-over concepts introduce different dependencies that should remain visible in the brief.
Back Placement
A back graphic can carry a larger composition while allowing the front to remain quiet or support a smaller mark. Review the front and back as one set. A back route should not be approved from a back-only mockup when the garment will appear from both angles.
- Compare front-back hierarchy.
- Check whether the graphic remains visible in planned listing frames.
- Observe alignment with the garment's body shape.
- Check interactions with collars, seams, or other construction details.
- Record whether the route needs a separate front identifier.
The final printable area remains provider-specific. A simulated back graphic is a concept preview until the selected product template has been checked.
Sleeve Placement
Sleeve placement is a narrower route with a strong relationship to sleeve length, seam position, and viewing angle. A design that reads clearly in a flat layout may become less obvious in a front-facing product image.
Compare sleeve concepts using sleeve length, garment style, graphic orientation, listing visibility, and coordination with front and back artwork. Do not carry front-body assumptions into sleeve placement. The available evidence does not verify universal sleeve dimensions or print outcomes across providers.
Collar and Pocket-Area Placement
Collar and pocket-area routes require close attention to interruptions. Necklines, pocket edges, plackets, and seams can change the apparent balance of a small graphic.
Use the route when the artwork remains legible after surrounding garment details are included in the mockup. Then confirm the selected product's template. A pocket-area concept may require a different file boundary from a plain front-body concept.
All-Over Placement
All-over placement is a broader graphic system rather than a single isolated mark. The review may involve repeat scale, edge behavior, garment-wide balance, and colorway coordination.
Assess motif layout, color direction, scale, and garment coordination separately. Do not treat an all-over preview as evidence that repeats, edges, seams, or physical materials will behave as shown. Those questions require provider information and, where the result matters, a physical sample.
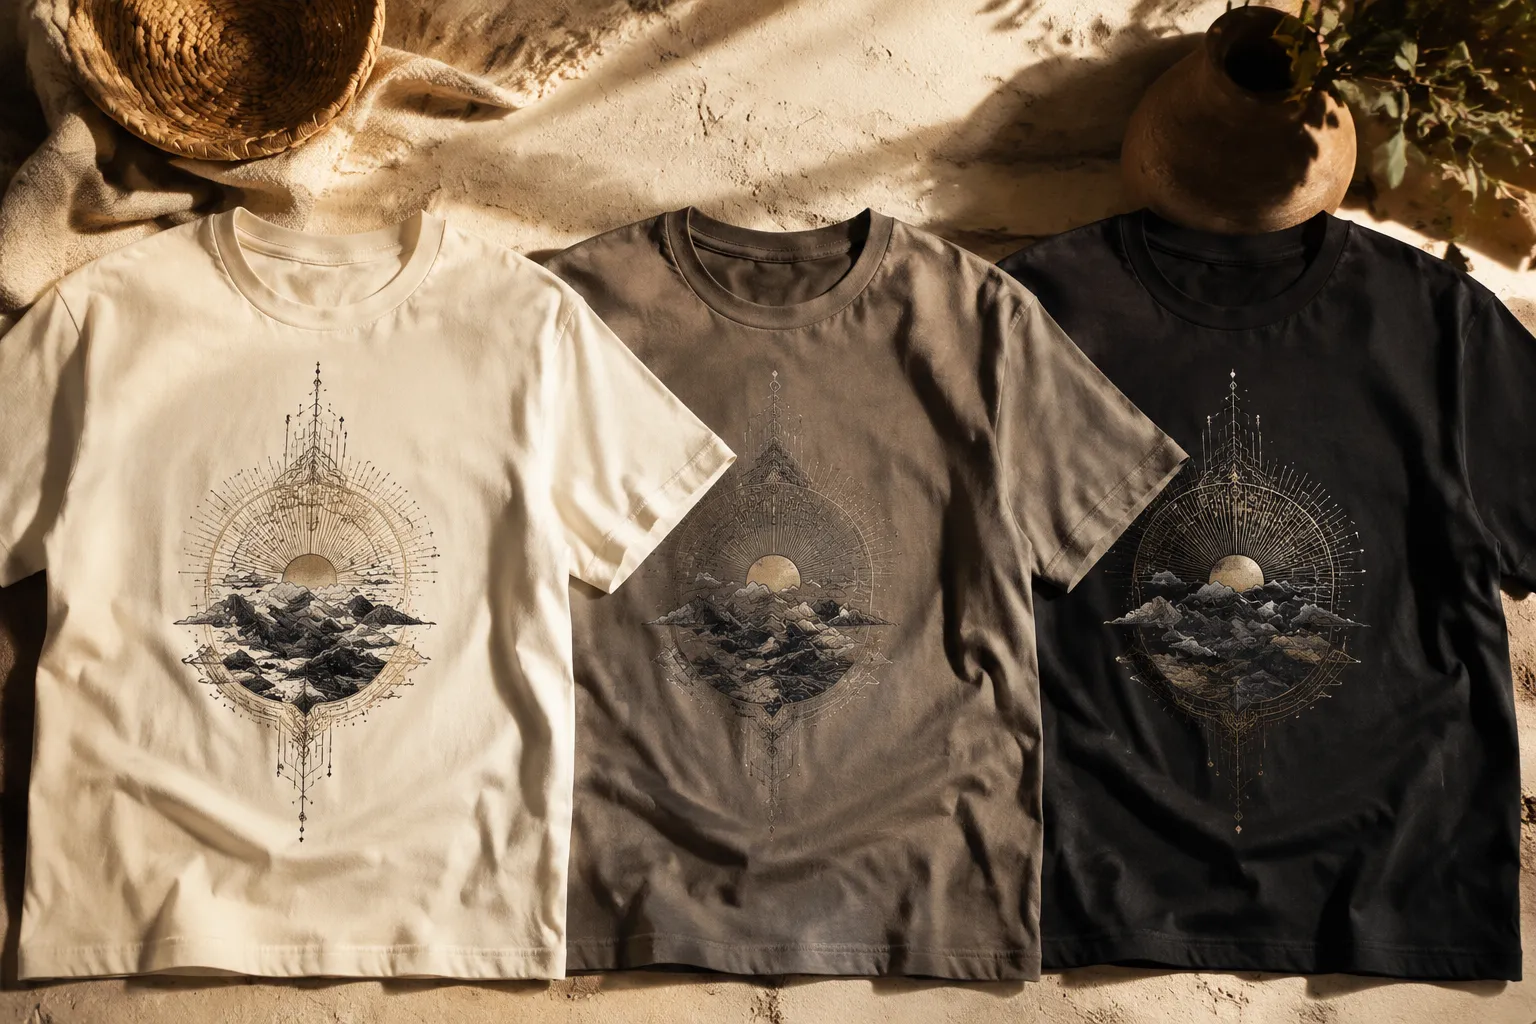
Garment Tone and Graphic Placement
Garment tone changes how a placement route is perceived. Contrast is a relationship between graphic colors, shirt color, scale, and surrounding empty space.
Build a colorway comparison that keeps placement constant. Then inspect the same graphic on each garment tone:
- Does the outer shape remain clear?
- Do internal details separate from the fabric?
- Does the graphic appear visually heavier or lighter?
- Does the selected route still balance the garment?
- Does one colorway break the coordinated set?
A route can remain visually appropriate while its production color remains unconfirmed. Final appearance depends on the selected provider, product, decoration method, file settings, and physical material. The mockup records an intended visual relationship.
Audience Context and Launch Context
Placement should be judged in the context where the garment will appear. A route intended for a detail-rich campaign image needs a different check from one intended for a small marketplace thumbnail.
Use the audience and launch context to clarify the design job:
- Is the graphic a compact identifier or the main visual statement?
- Does the collection rely on front-back coordination?
- Will the garment be shown flat, modeled, cropped, or in motion?
- Does the campaign asset need several placements visible at once?
These questions strengthen the brief without claiming that one route will increase sales or conversion. The available evidence does not support commercial performance conclusions.
A useful review sequence includes three views:
- Full garment view for proportion and balance.
- Listing frame for thumbnail readability and crop behavior.
- Detail view for artwork structure, edges, and nearby garment features.
Label all three as simulated mockups until another state has been confirmed.
When a Mockup Stops Being Enough
A mockup is useful for comparing intended routes. It becomes insufficient when the question depends on the actual provider, garment, material, decoration method, or production process.
Move to provider-template checking when the team has selected a garment and decoration method, recorded the intended area, documented the reason for graphic scale, identified the garment tone and colorway, and reviewed the listing and campaign views.
Printful's file-guideline documentation illustrates this provider-specific checkpoint: the selected product template, printable area, and file requirements need to be checked for that product. Requirements can change, so the source record should name the provider document and review date.
That checkpoint covers only what the responsible provider documentation addresses. It does not confirm every supplier, garment, or decoration method.
The next state is sampled when a physical item is available for review. Keep appearance assessment separate from material assessment. Research on digitally printed apparel and textile evaluation supports distinguishing visual response from assessment involving the physical textile. A preview cannot establish tactile suitability, final material experience, or produced consistency.
A Reviewable Placement Workflow
1. Record the Intended Route
Write the garment area, graphic set, garment tone, colorway, audience, and launch context. Mark the state as intended.
2. Compare Simulated Routes
Create matching previews for the relevant areas. Keep the garment and viewing context consistent. Mark the files as simulated.
3. Identify the Collection Consequence
Record what changes when the route changes: front emphasis, graphic scale, set hierarchy, listing readability, colorway balance, campaign framing, and interaction with garment details.
4. Check the Provider Template
Identify the exact product and decoration method. Compare the artwork against the provider's current printable area and file guidelines. Mark the route as provider-template checked only after that review.
5. Request or Review a Sample
Use a physical sample when color, fabric, placement, construction, or manufacturing behavior cannot be established from the preview. Mark the route as sampled.
6. Separate Approval From Production
A team may mark artwork approved for the next stage while the produced state remains unresolved. Produced means the item has actually been made, not merely shown in a mockup or accepted in an internal review.
Placement Handoff Record
Carry the selected route into the next stage with a concise source record:
- Collection or graphic-set name
- Garment product and colorway
- Intended garment area
- Artwork filename and version
- Simulated mockup filename
- Provider and decoration method
- Provider template or printable-area reference
- Scale and alignment notes
- Listing frame and campaign crop
- Sample status
- Approval status
- Rights or usage questions still requiring the responsible party
- Marketplace or product-page questions still requiring current guidance
- Owner for each unresolved question
This structure keeps visual preference, provider confirmation, sampling, rights review, and marketplace review distinct. Each may belong to a different decision owner.
Common Placement Mix-Ups
Treating the Mockup as the Product
A simulated mockup shows an intended presentation. It does not establish final print appearance, fabric response, placement accuracy, or manufacturing results.
Treating One Provider's Template as a Universal Rule
Printable areas and file requirements depend on the selected product, provider, and decoration method. A provider document should not be generalized to every supplier.
Changing Too Many Variables at Once
If placement, garment tone, artwork scale, model crop, and graphic version all change together, the comparison cannot explain the result. Keep the decision variables visible and compare one changed variable at a time.
Using Sales Language as Design Evidence
A route may look clearer in a listing frame. That observation does not establish stronger demand, conversion, ranking, or commercial performance.
Collapsing Approval and Production
Internal approval records a team decision. It does not replace provider confirmation, physical sampling, rights review, or marketplace review.
FAQ
Is left-chest placement or center-chest placement better?
Neither route is universally better. Compare both using the same graphic set, garment tone, audience context, launch context, and listing frame. Choose the route whose visual role and next checks are clearest for the collection.
How should a team compare shirt placement routes?
Use matching simulated mockups and record garment area, visual balance, scale, contrast, graphic-set coordination, listing visibility, provider constraints, and unresolved questions. Tie subjective reactions to visible observations.
Can a mockup confirm the printable area?
No. The selected provider's current product template and file guidelines must confirm the relevant printable area and requirements.
When should a shirt placement route be sampled?
Sampling becomes relevant when the team needs evidence about physical color, fabric, placement, construction, or manufacturing behavior that a visual preview cannot establish.
Does a placement choice establish marketplace acceptance or sales potential?
No. Placement review can clarify a design brief and listing asset plan, but it does not establish marketplace acceptance or commercial performance.
The Next Handoff
Once the placement route is selected, the collection moves into adjacent decisions: artwork preparation, garment and colorway coordination, provider-template confirmation, sample review, listing-frame production, and final handoff.
The route is complete for this stage when another reviewer can identify the intended garment area, understand why it was selected, see which alternatives were compared, and locate every unresolved question. The remaining decisions belong to the responsible provider, rights holder, marketplace, manufacturer, or project owner rather than to the mockup alone.