Artwork Adaptation Across Garment Types
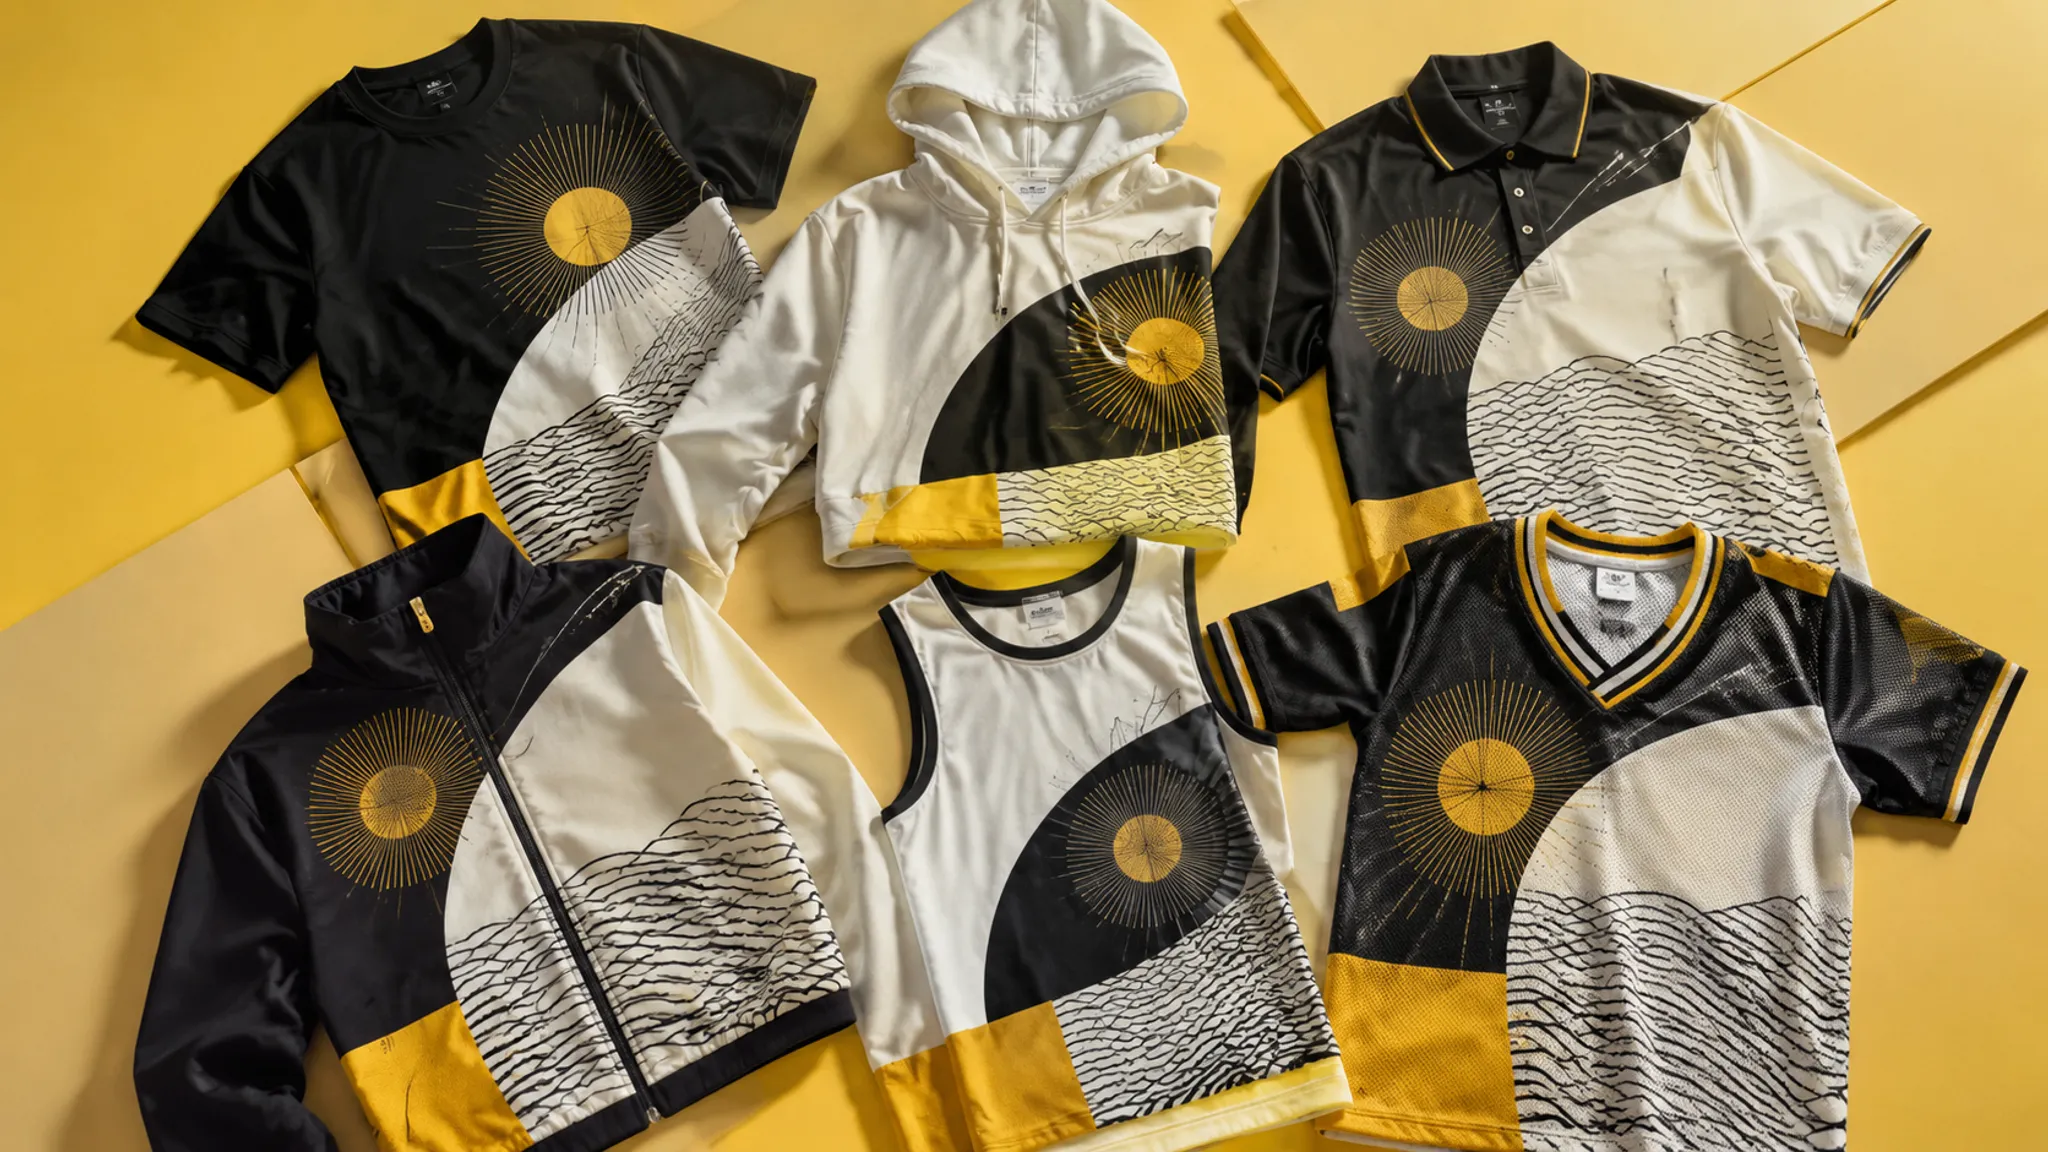
Moving one artwork set from a T-shirt to a hoodie, polo, jacket, tank, sleeve, or pocket begins with a placement decision. The print area, garment landmarks, construction, scale, colorway, and size range can all change how the same graphic reads.
The working aim is collection coherence with a reviewable handoff. A simulated mockup can show intended composition and approximate hierarchy, but it cannot establish final print dimensions, fabric response, rights status, marketplace acceptance, or the produced result.
What Changes Across Garment Types
Start by naming the variables before adjusting the artwork. A placement that works on an open T-shirt panel may need a different role or crop on a garment divided by a zipper, pocket, collar, or seam.
- Uninterrupted print area
- Garment construction
- Placement role
- Artwork scale
- Garment tone
- Size range
- Decoration method
- Provider availability
These variables interact. A large front graphic may fit a T-shirt but conflict with a hoodie pouch pocket or drawcord. A left-chest mark may suit a polo or jacket, while its collar, placket, and shoulder seams change the available landmarks.
A location name is only a broad label. “Center chest” identifies an area; the handoff still needs a distance from the neckline, center line, pocket, seam, or another reference point.
Start With Garment Construction
Record the garment type, tone, size range, and intended decoration method before adapting the graphic. Then inspect the features that may interrupt the composition:
- Collar and neckline
- Shoulder, side, and sleeve seams
- Pockets and plackets
- Hoods and drawcords
- Zippers
- Hems
- Fitted or tapered areas
- Ribbed or heavily structured sections
An uninterrupted print area is not simply the largest visible surface. It is the area where the intended artwork can sit without crossing construction features or falling outside the selected provider’s current template.
A T-shirt may offer a comparatively open front panel. A zip jacket divides that panel vertically, while a hoodie can bring a lower graphic close to a pouch pocket. A polo adds a collar, button placket, and sometimes a chest pocket. The artwork may need to move, reduce, separate, or change role.
The first decision is structural: resolve the placement conflict before refining the scale.
Separate Artwork Role From Print Location
One graphic set can contain several roles:
- Primary graphic
- Secondary mark
- Collection identifier
- Information block
- Sleeve or hem accent
- Name, number, or role element
- Small branding detail
These roles should remain distinct during the comparison. A full-back composition and a small chest mark may belong to the same collection, but they carry different visual responsibilities.
A collection might use a large back treatment with a restrained front mark on a T-shirt, an upper-back identifier on a jacket, and a sleeve accent on a long-sleeve garment. The files can share motifs and color logic while using different measured positions.
Preserve the system, then adapt the asset. Do not force one file into every location when the garment changes its role.
Compare Common Placement Routes
Center Chest
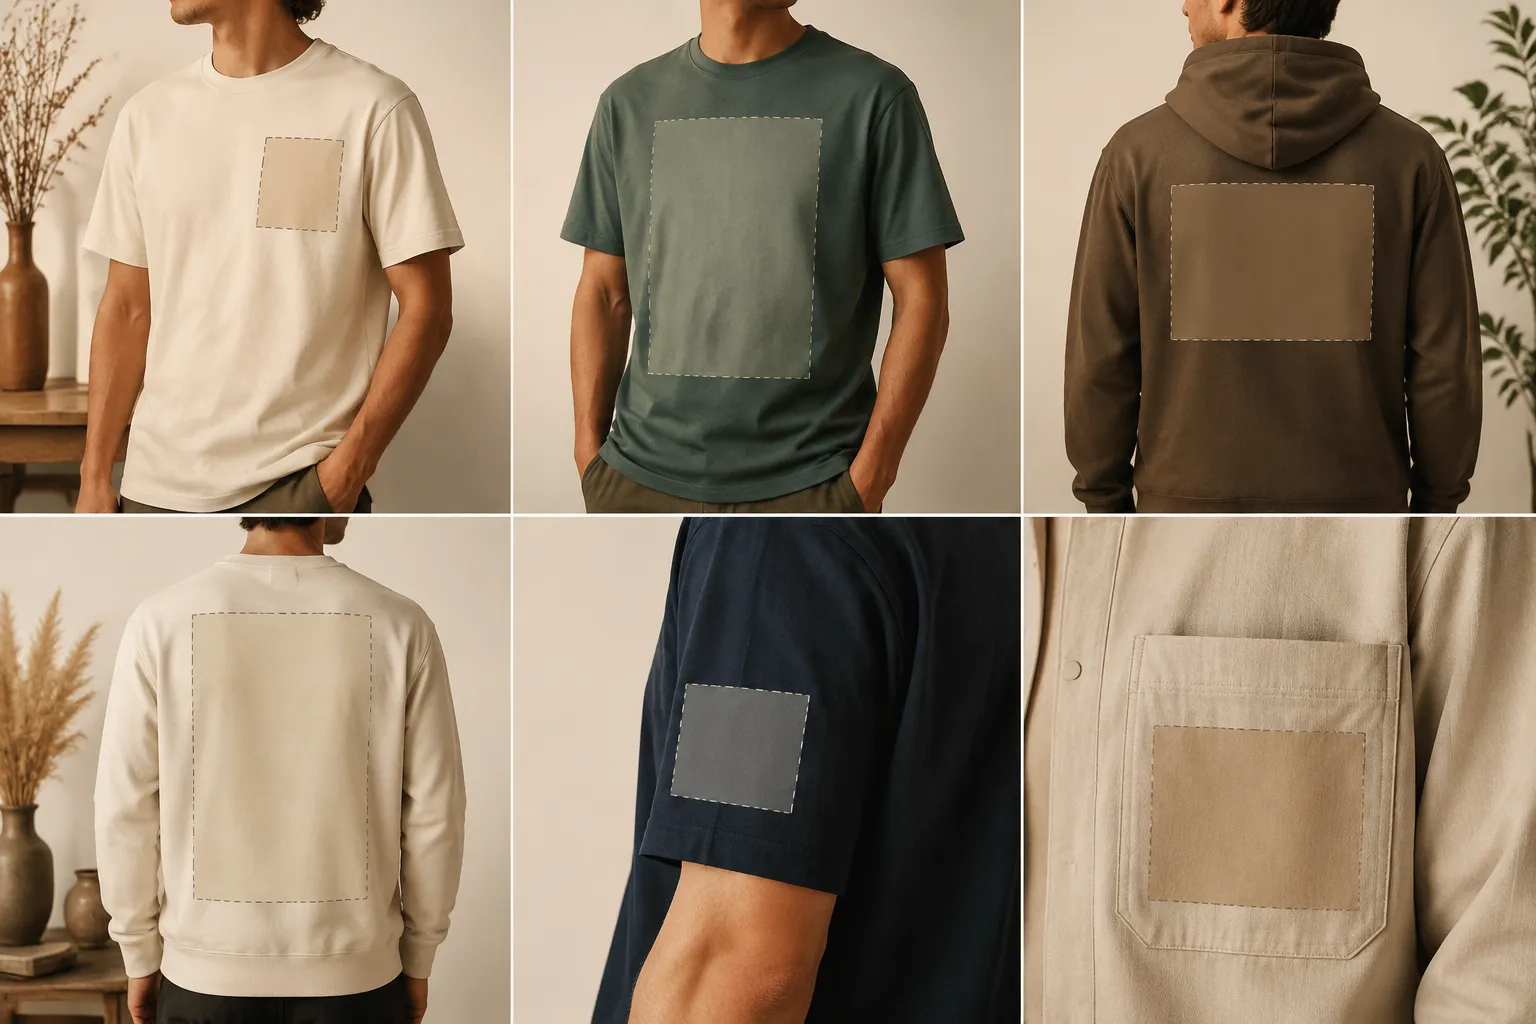
Center chest is a useful working label for a front placement aligned around the garment’s center line. It is not a complete production specification.
Record the distance from the collar or neckline, artwork width and height, centerline alignment, relationship to a pocket or placket, size group, and current provider template.
The vertical position may change on a tank top, sweatshirt, polo, or jacket because the neckline, cut, hang, and construction alter how the same location reads. Check the graphic at thumbnail size as well. If its hierarchy weakens after reduction, artwork density may be part of the issue.
Full Front
Full-front artwork uses more of the available front panel. Commercial printer guidance often gives approximate starting ranges, but dimensions vary by provider, garment, decoration method, and product template.
Treat any range as source-specific planning guidance rather than a universal apparel standard. Inspect collar and hem clearance, pocket overlap, zipper or placket interruption, side-to-side balance, and the graphic’s proportion on the smallest and largest selected sizes.
A composition that fills a medium T-shirt may become visually dominant on a smaller garment and comparatively restrained on a larger one. Record whether the team wants consistent dimensions or consistent visual proportion.
Upper Back or Nape
Upper-back placement near the back neckline often functions as a secondary mark or restrained collection signal. Its relevant landmarks include the back neckline, shoulder seams, center back, and the top edge of any larger back graphic.
On a hoodie, the hood and drawcord can reduce or crowd the visible space above the back. A clear flat preview may not represent the garment when worn or layered. Record the intended distance from the neckline and check it against the selected provider’s current template.
Full Back
Full-back artwork can support a larger or information-dense composition. Rosters, event information, dates, and merchandise graphics are common planning examples, not evidence of audience preference or sales performance.
Check whether the composition reads at listing-frame size, remains inside the uninterrupted back panel, clears the neckline and shoulder seams, avoids the hem, and preserves its role across the selected size range.
A large back surface does not establish that every product supports full-back placement. The product-specific print area and current template remain the confirmation points.
Sleeve
Sleeve placement depends on sleeve width, seam position, garment type, and decoration process. Short sleeves, long sleeves, fitted sleeves, and raglan constructions may offer different usable areas.
Approximate figures from commercial placement guidance are planning references, not universal specifications. Record the left or right sleeve, sleeve length, distance from shoulder or cuff, seam relationship, artwork orientation, dimensions, and provider availability.
A sleeve graphic that reads in a front-facing mockup may become unclear when the sleeve rotates or folds. Use the mockup for hierarchy, then confirm the actual print area and process limits.
“Left chest” and “pocket print” are not interchangeable labels. Specify whether the graphic sits above, inside, beside, or along the pocket zone, or whether it is a separate mark that only aligns with the pocket.
The pocket can interrupt the print area and change the garment’s visual reference point. Include the pocket in the review screenshot and source record instead of judging the graphic against the body panel alone.
Adapt Artwork Scale Across Sizes
Artwork scale raises two separate questions: does the graphic fit the available print area, and does it preserve the intended visual proportion?
A file can fit technically while reading incorrectly. It may become too small on a larger adult garment or too dominant on a smaller one. The available material supports grouped scale decisions, but it does not establish a universal sizing formula.
Create size groups when the collection needs a consistent visual relationship. Groups might include youth, smaller adult, standard adult, and larger adult sizes. The exact grouping depends on the selected garments, provider templates, and collection goals.
Compare artwork width against the garment body, artwork height against neckline and hem landmarks, negative space around the graphic, pocket and seam relationships, thumbnail legibility, and the relationship to secondary artwork.
A single file may remain suitable across sizes when the visual result is acceptable to the team. Record that as a review decision rather than assuming it from the file dimensions.
The sizing record should state whether the artwork is intended for one common size, scaled by group, cropped for a placement, rebuilt for a different construction, or awaiting provider or sample confirmation.
Use Garment Landmarks
Landmarks turn a subjective impression into a repeatable brief. Describe placement relative to the collar, center front, shoulder seam, pocket, sleeve seam, cuff, or hemline.
Instead of writing “move the graphic slightly lower,” record a measurable relationship: center the artwork on the front body panel, measure its top edge from the neckline, preserve pocket clearance, and compare that relationship across the selected size group.
A landmark does not create a production specification by itself. The garment pattern, actual measurement, provider template, and decoration process still determine the usable result.
Research on garment landmarking and digital product creation describes the value of consistent reference points for repeatable positioning. It does not establish universal print dimensions. Use landmark language to improve the handoff, then confirm the values through the responsible production source.
Compare Garment Tone and Colorway
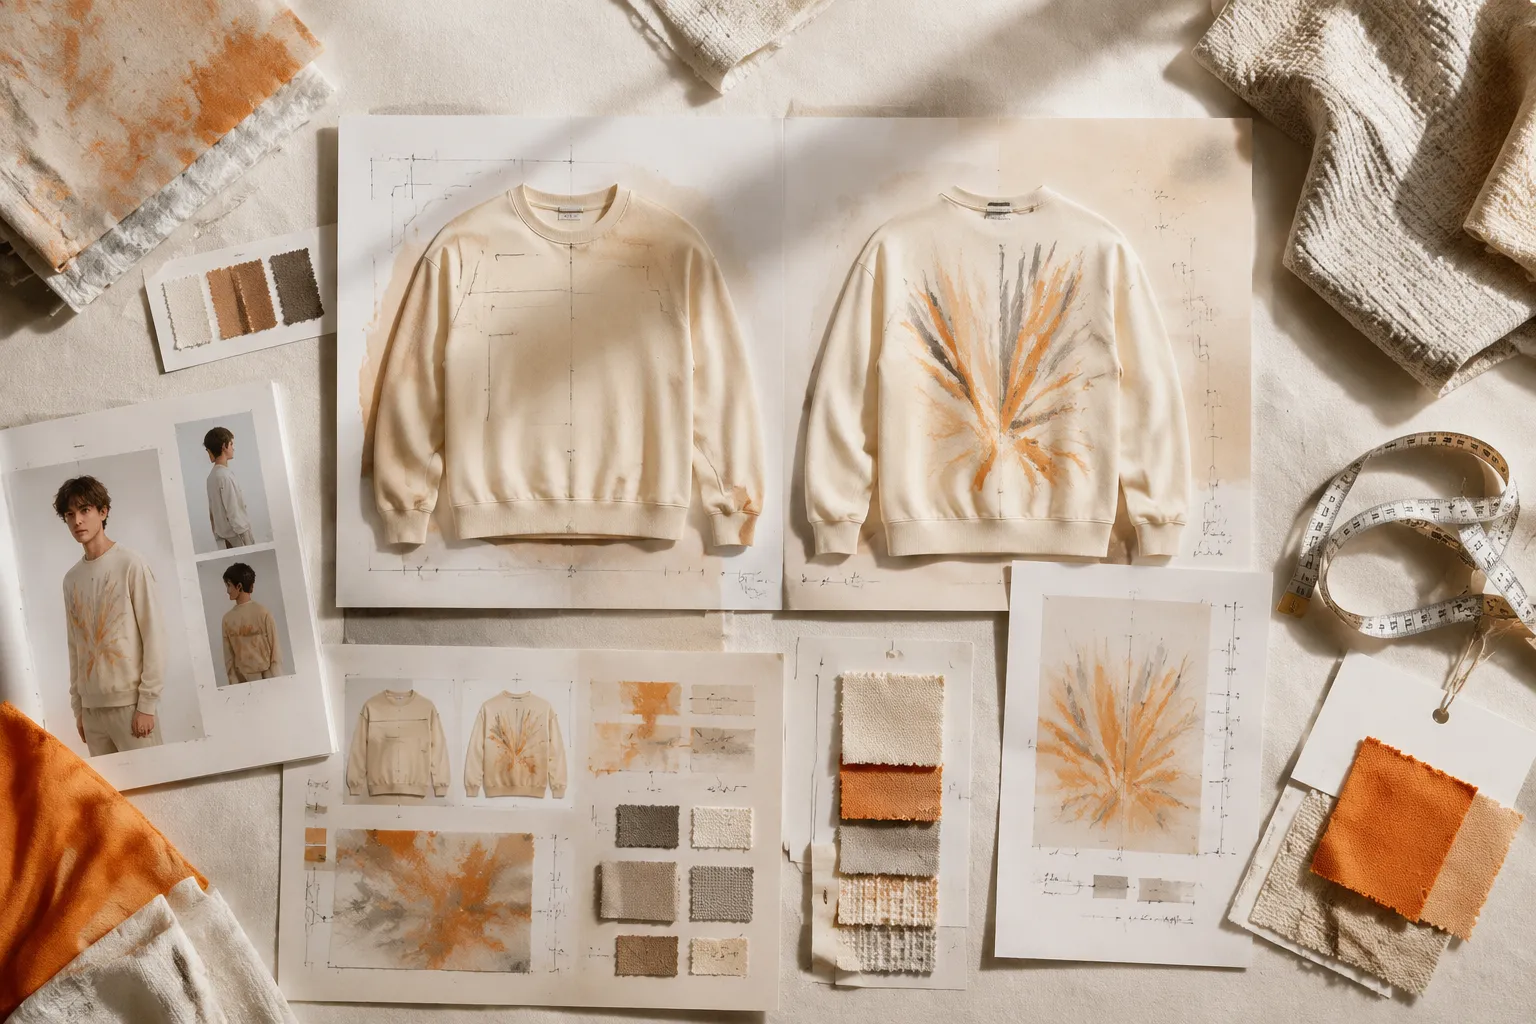
Garment tone changes the visible relationship between artwork and fabric. Compare the artwork colorway against the intended garment tone, not only against a neutral artboard.
- Garment tone and artwork colorway
- Contrast-sensitive details
- Areas that may lose separation
- Whether the artwork is reversed, reduced, or recolored
- Whether the color result remains unconfirmed
A simulated mockup can show intended contrast, but it cannot confirm final color accuracy or fabric response. Those questions may require current provider documentation, direct confirmation, or a physical sample.
Keep colorway review separate from rights review. A coherent colorway does not establish usage permission, production approval, or final print quality.
Check Decoration Method and Provider Availability
The same placement may behave differently across decoration methods. Equipment, garment construction, provider templates, and available print areas can restrict where artwork is offered.
A large front panel does not mean every method can use it. Sleeve, hem, pocket, and all-over treatments may be available for one product and absent from another.
Use current documentation from the selected provider to check product-specific print areas, file requirements, placement availability, current templates, and method-specific boundaries. General help-center material provides a route for investigation, but it does not replace the product page or direct confirmation for a particular garment.
Commercial placement guides can clarify working vocabulary and recurring planning questions. Keep their approximate figures attributed to that guidance rather than presenting them as independent production evidence.
Review the Mockup as a Simulated Asset
A mockup supports visual comparison of intended composition, hierarchy, colorway, and approximate scale. It does not establish seam clearance, fabric behavior, rights permission, provider acceptance, or final manufacturing results.
Label each visual asset by state:
- Intended: proposed artwork role or placement
- Simulated: shown in a digital mockup
- Sampled: checked on a physical garment or sample
- Approved: confirmed by the responsible reviewer or provider
- Produced: present on the manufactured garment
Use this review sequence for each garment and artwork combination:
- Identify the garment and its construction.
- Assign the artwork role: primary, secondary, identifier, or accent.
- Choose the broad placement label.
- Define the measured landmarks.
- Compare approximate scale by size group.
- Inspect garment tone and artwork colorway.
- Mark construction obstructions.
- Label the visual as a simulated mockup.
- Check the current provider template or product page.
- Record the remaining confirmation points.
The order can change when the garment or decoration method demands it. The useful output is the record of what was intended, observed, sampled, approved, or left open.
Build the Handoff Record
Use one record for each garment and artwork combination. This keeps collection review separate from production confirmation.
| Field | Record |
|---|---|
| Garment type | T-shirt, hoodie, polo, jacket, tank, jersey, or another defined type |
| Garment tone | Selected color or unresolved colorway |
| Artwork role | Primary, secondary, identifier, or accent |
| Broad location | Center chest, full front, upper back, full back, sleeve, pocket, or hemline |
| Measured landmarks | Collar, center line, pocket, seam, cuff, or hem reference |
| Artwork dimensions | Width and height for the stated size group |
| Size group | Youth, smaller adult, standard adult, larger adult, or another defined group |
| Decoration method | Intended method and current confirmation state |
| Source record | Provider page, current template, garment measurement, or physical sample |
| Asset state | Intended, simulated, sampled, approved, or produced |
| Open questions | Provider, sample, rights, marketplace, or manufacturing confirmation |
The open-questions field prevents a mockup from carrying decisions it cannot support.
Common Misreadings
A Location Name Is a Complete Specification
It is not. A location label still needs measured landmarks, artwork dimensions, garment size, and construction context.
One Provider’s Measurement Is an Industry Standard
It is not. Approximate figures vary by provider, product, method, and garment. Attribute each figure to its source and context.
A Large Surface Supports Every Placement
It does not. Product availability, seams, pockets, fabric behavior, equipment, and decoration method may limit the usable area.
One Artwork Size Works Across the Full Range
It may not. Compare visual proportion across the selected size groups and record the reason for a common-size or grouped-scale decision.
A Mockup Establishes the Produced Result
It does not. Sampling or direct production confirmation remains necessary where color, fabric, construction, process, or placement is uncertain.
A Back Graphic Will Perform Better
The available material does not establish audience preference, commercial performance, or sales outcomes. Treat visibility and layering observations as design considerations only.
When the Mockup Is No Longer Enough
Move the question to provider confirmation or physical sampling when:
- The artwork approaches a collar, pocket, seam, hood, zipper, or hem.
- The selected garment has a narrow or interrupted print area.
- The placement depends on sleeve rotation or garment hang.
- The colorway relies on subtle contrast.
- One artwork size must serve substantially different garment sizes.
- The decoration method is not confirmed for the selected location.
- The garment has fitted, tapered, ribbed, or structured construction.
- The collection requires consistent alignment across several garment types.
- The current provider template or product page is missing.
- The team is treating the image as evidence of final production quality.
A physical sample answers questions that a preview cannot. It does not replace rights review, marketplace review, or final manufacturing confirmation.
Carry the Decision Into the Next Stage
A coherent collection does not require identical artwork files on every garment. It requires a documented relationship between artwork role, placement, scale, garment construction, tone, and size range.
Keep the shared motif, hierarchy, and color logic visible across the set. Adapt the measured position, crop, scale, or secondary role when the garment changes the available evidence.
The next handoff should include the source record, current provider template, size-group decision, simulated mockup label, and unresolved questions. Those records connect placement review to colorway selection, garment selection, listing-frame preparation, physical sampling, rights confirmation, marketplace review, and production approval.
The useful endpoint is a reviewable brief: what was intended, what was observed, what was sampled, and what remains unconfirmed.